
 Stage Version 1  Stage Version 2 | About a week ago I uploaded some designs for linear stages to thingiverse.com (V1, V2) to be used for high-precision scanning along a single axis. I designed these with the intention of using them in microbeam radiation experiments, which I've been involved with as a summer student at UNC Hospitals Radiation Oncology Department. The idea is simple: fix a fiber-optic cable embedded with tiny carbon nanocrystals to the end of the shaft, and scan it slowly under an irradiator. As the energized electrons hit the carbon nanocrystals, they become excited and dimly glow with visible light. The light travels down the fiber-optic cable, and is measured by a photodetector at the end. Multiplying by empirically determined scaling factors converts these measurements into meaningful data about radiation dosage and dose-rate. |
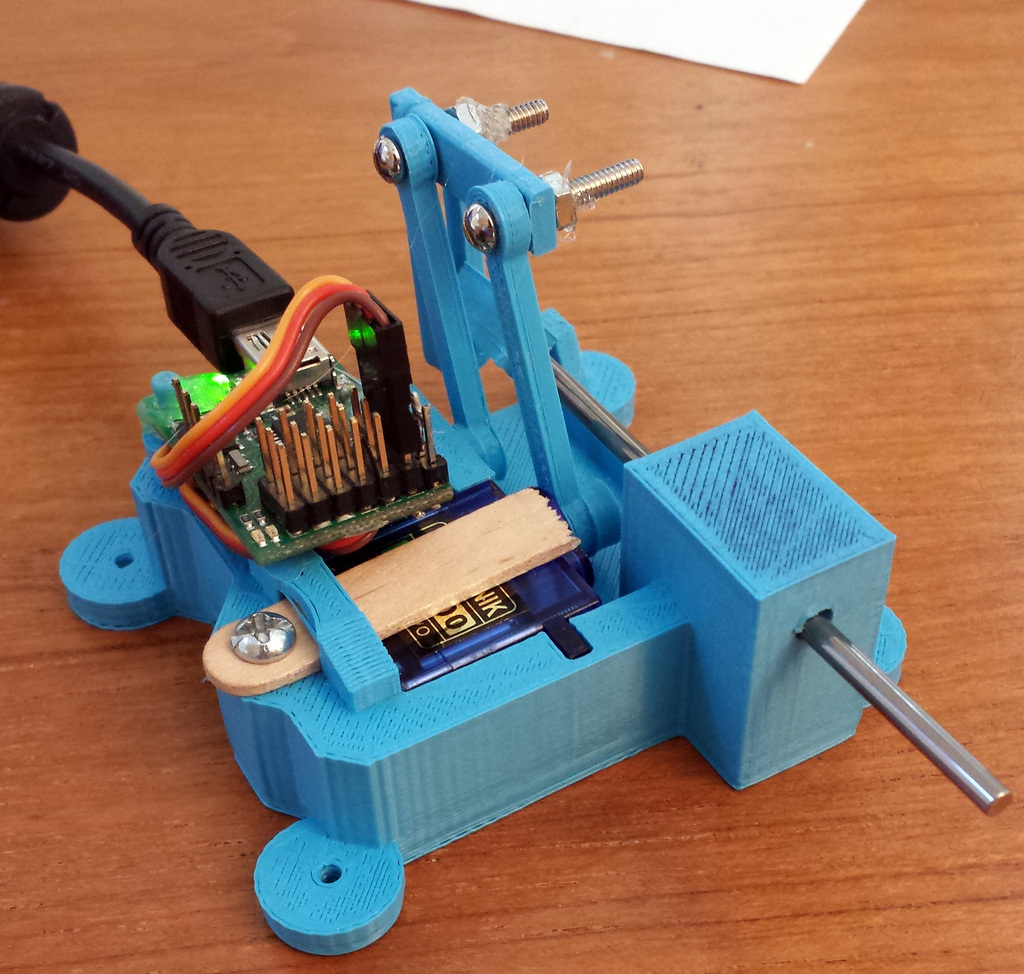
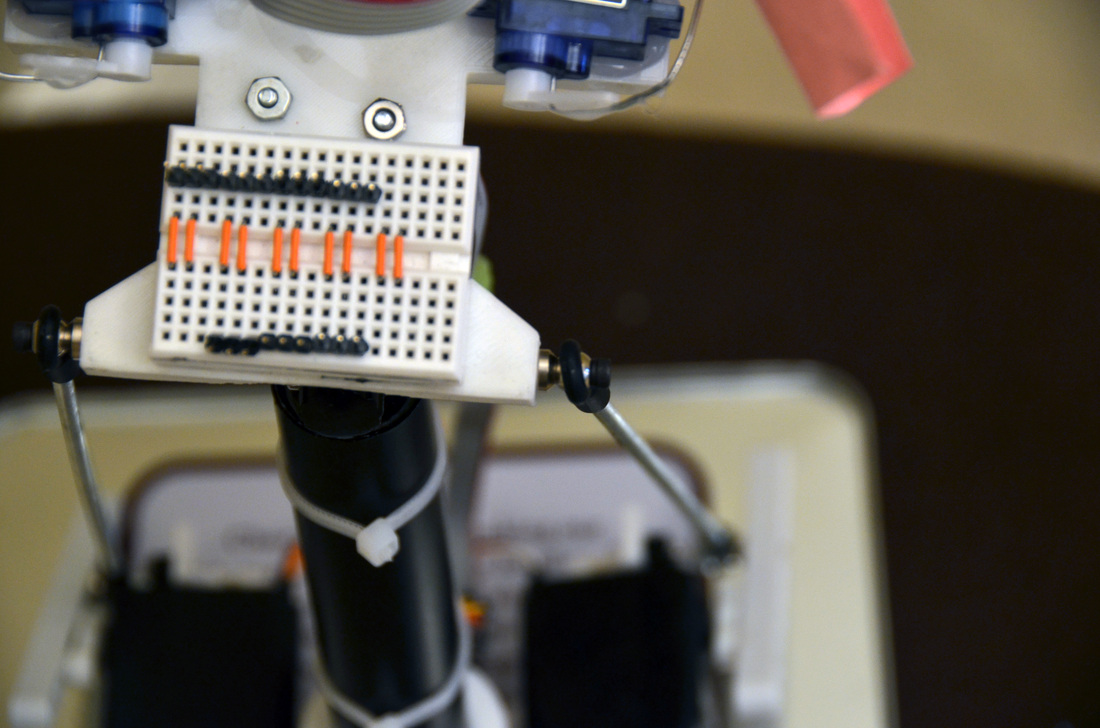
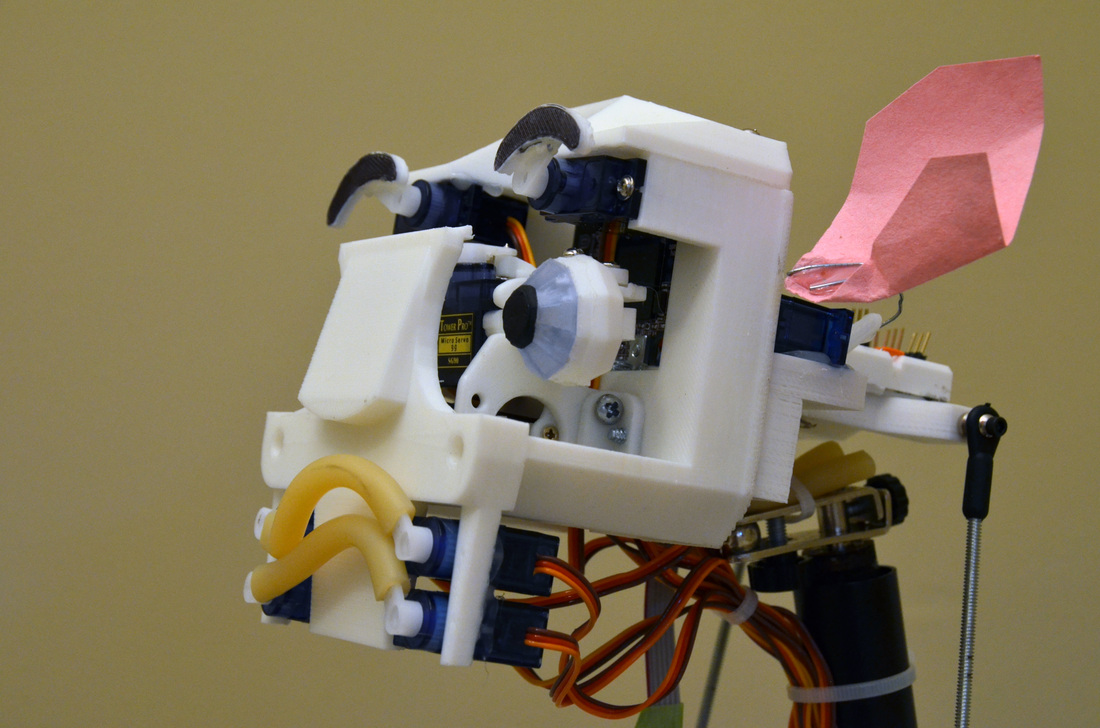
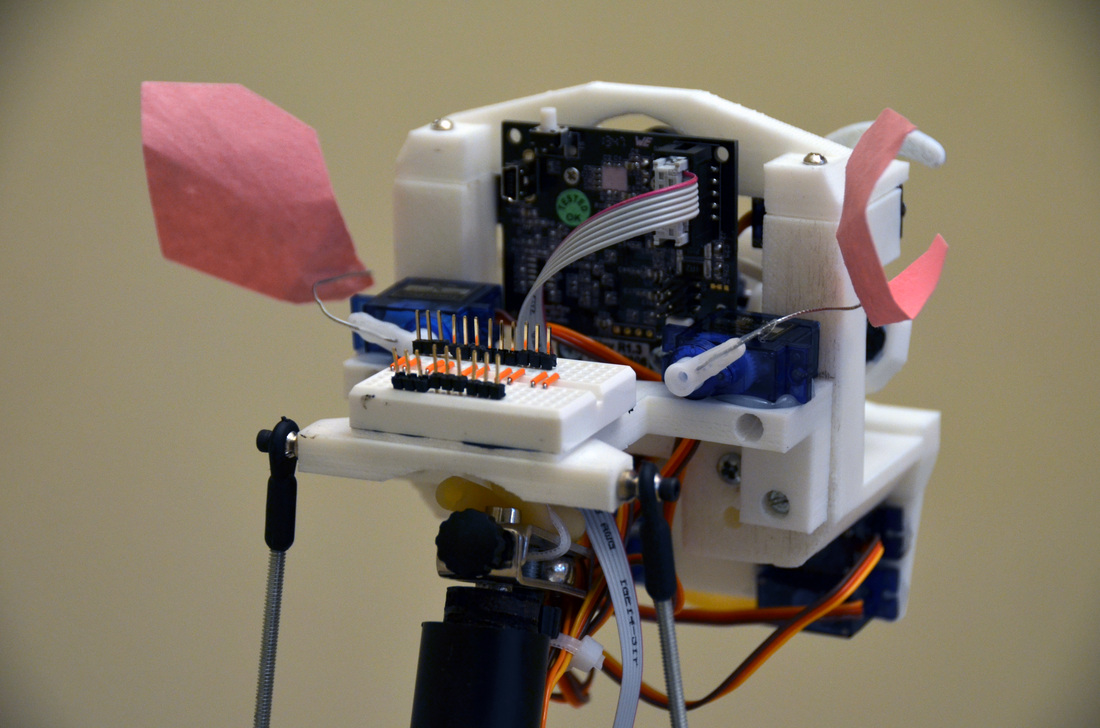
In the testing process, I created two similar, though slightly different designs. The first version worked quite well, but still had issues with slop and precision (the ability to go somewhere, then return to exactly the same position - there was about 1 mm of slop). It featured parallel arms that horizontally translated an elongated ring back and forth, creating the back-and-forth movement of the shaft. However, it had 4 joints (one at each end of the bars), which meant 4 places for slop to occur. In addition, it also suffered from slight torquing of the shaft as it moved through its range of motion, which would be a concern if a tiny sensor were mounted at the end.
The second version solved some (if not most) of these issues. First, I eliminated the parallel arm design, reducing the number of potential slop points down to two, rather than four. Second, the new stage design has a guide rail and an adjustable adapter that can clamp down on the fiber to keep it in place. After some testing, it seems that the new design can achieve sub-millimeter precision, though it can only move in increments of roughly 1 millimeter, due to the limitations of the micro servo. Assuming the width of the microbeams are larger than 1 millimeter, and the refresh rate of the photodetector is adequately rapid, the device should be able to achieve a sufficient resolution for graphing and review of radiation dosage.
The programming was relatively simple, using the standard Tkinter Python toolkit to create a simple GUI, and querying the positions of Scale widgets to determine the desired position of the stage. The only slightly tricky part of the programming involved converting servo position to millimeter position of the stage (using a little trig), and calculating the exact scale factor to convert the pulse width of the servo to actual degrees (the "position" integer that the Pololu Maestro Servo controller returns is the servo pulse width in microseconds, which can be converted to degrees).
Note: In order to get the servo controller to communicate over serial via USB, I had to change the serial settings in the Maestro Utility to "Dual Port." This is very important - nothing will work unless this setting is changed.
And another note: when you query the position of the servo, the controller returns the position value in two bytes in a format called "little endian." In order to reconstruct the actual integer position value, take the first value, and add it to 256 times the second value (i.e. - position = byte1 + 256*byte2).
Attached is the code that I used to control the stage in Python 2.7 using a Tkinter GUI. You can also see a short demo of the code in action down below:
| Make sure you have the appropriate libraries installed: pySerial, Tkinter, time, and math If you install PythonXY, you should have these libraries (except for maybe serial) already installed in the package. | ||
| Stage V2 | |
| Stage V1 | |
Hope this post was helpful to anyone wanting to create a similar application using Python. If you have any questions, don't hesitate to leave a comment.


 RSS Feed
